Initial Setup

Step 1: Obtain Batteries & SD card

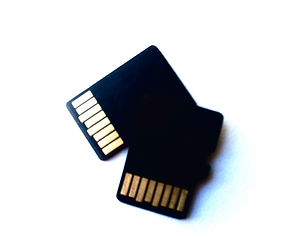
To use your AudioMoth you must first purchase appropriate batteries and SD card for your deployment. Cards that are 32GB or less in size are normally supplied formatted using the MS-DOS (FAT32) system. Cards greater than 32GB are typically supplied formatted using the exFAT system.
Step 2: Insert Batteries & SD card

After purchasing the appropriate batteries and SD card, set your AudioMoth to CUSTOM and insert them into your device. If the device is new and has never been configured, both LEDs should begin to flash.
Step 3: Set switch to USB mode

Set the switch on the side of the device to USB/OFF.
Step 4: Configure using your platform's configuration app
Download the configuration app for your desired platform from the apps page. Once installed, configure the device by following the steps in the configuration app usage guide.
Step 5: Deploy device

With the AudioMoth configured and the switch in the CUSTOM position you can now deploy. From firmware version 1.5.0 on-wards AudioMoth remembers the previously configured settings, even if the batteries are removed. However, if batteries have been removed the clock on AudioMoth resets.
If the batteries are removed you can use the AudioMoth smartphone app to set the time without a laptop. As the configurations are remembered, all future deployments only require the smartphone app to set the AudioMoth clock before deployment.
While waiting for a recording period, the green LED will flash. While making a recording the red LED will flash.
Additional Functionality: Record on the fly

With switch set to DEFAULT AudioMoth will start recording immediately outside of the configured timing schedule, at either the default settings (if the device wasn't configured) or with the previously configured settings. AudioMoth will record one continuous WAV file in DEFAULT.
The default settings are 48kHz and medium gain: